Creating a Coupon Binder
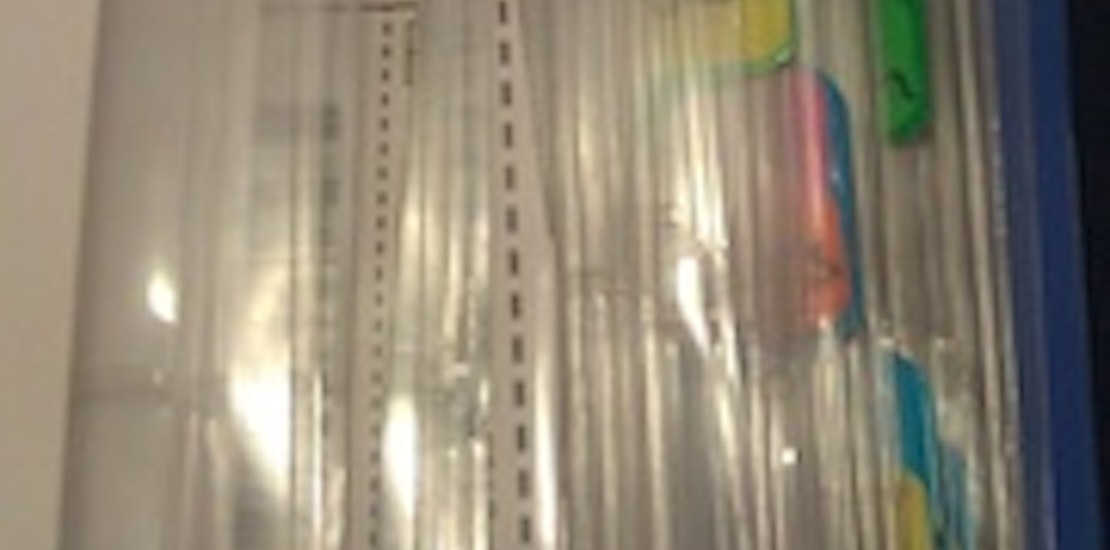
So you love coupons and are swimming in them. Now you need to find a better way to organize them. A very popular and common way to organize and carry coupons is to create a coupon binder. You can readily organize your coupons, see them all easily, and conveniently carry them with you. Many people prefer this method but figuring out the best way to set it up can be difficult.
Remember, take it slow and build up. Don’t go dropping $50 to set up a binder if you don’t even know if you’ll like it. We are all savers, so do this frugally and build up if you find the binder system works well for you. Wasting money is never good no matter how pretty the binder may be!
The Binder
You really can use any 3-ring binder, but some may be easier to carry around than others. If you are on a budget grab any binder you have laying around your house and get started. If you can afford to drop a few dollars look for a zip up binder. They generally run around $10-$15 dollars, but can often be found on sale, in clearance, or in thrift stores, so keep your eyes out. I recommend you use a binder at least 2 inches, and you may need bigger than that as you add more coupons. But 2 is enough for most people, especially in the beginning. Zip-up is very helpful since there is less of a risk of coupons falling out if somebody tips it over. Nothing is worse than being at a checkout and having the 2 year old dump 1000 coupons on the floor!!
A Carrying System
So what’s the easiest way to carry the binder around? Okay so this is not essential but people want to know. You can just carry the binder right? But if you are looking for a way to free up your hands there are two ways. If you have a zip-up binder you can add a strap to the binder. I made a strap by using an old duffel bag strap I had laying around the house. If you need holes added to the binder get a cheap grommet kit (found in the hardware or craft section) for a few bucks. My husband snapped grommets onto my binder in just a minute. A second option for both zip-up and regular binders is a tote bag. Just slip the binder in – its discretely covered and you are hands free.
Coupon Holder pages
There are many varieties of pages with many different pocket sizes you can use for coupons. The most common but also the most frustrating is the baseball card holders. They have 9 pockets and can hold many coupons per page. The downfall: the pockets are so tiny you often have to fold coupons and getting them in and out is difficult. Another option that I prefer is currency holders. You can get these online and they have three pockets on them. They fit Internet Printed (IPs) coupons very well, and are easy to access. But the downfall is they don’t hold as many coupons per page. Photo pages are another option – they have 3 or 4 4×6 inch pockets and can be found in the photo section of the store. Online you can also locate pages that have 6 or 8 pockets. I recommend you get a combination of the smaller and larger pockets to best accommodate all your coupons. You may also want a few full-page single pocket pages, or page protectors, to hold coupon policies, whole inserts, etc.
Dividers
You are going to want some way to divide and mark off the sections of your binder. You can just use a few post-its if you need to do it on the cheap. A common option is Index pages. I recommend you get ones that you can write on or label yourself versus pre-numbered ones. Some people just prefer to put a sheet of colored paper in with the section title written on it. Just work with it and see what you like best.
Organizing
This is the part people struggle with the most. How do you organize the coupons? Well it varies for everyone. The first basic choice – alphabetical or categorically? Do you prefer to look for your coupons by the brand name or by the type of product? Alphabetical is straightforward – sort each brand alphabetically. Also, you can alphabetize the product, such as ”rice” and put all brands there. The categorical is a bit more complicated. With the categorical approach you must decide – how many categories and how detailed the categories, and this depends on your preferences. For example – (1) one health and beauty category, versus (2) one section each for make-up, soaps, hair products, skin products, versus (3) going even more detailed and have hair stylers separate from shampoos. Since so many coupons cover a broad range I prefer more broad categories, but too much in one category can be cumbersome. So you need to find your balance. This balance is usually decided by your shopping habits. If you don’t wear make-up then a separate section will not be needed, but if you love make-up you may want to break that category down more. I recommend no matter what categories you choose that you make the front page/section of your binder all the FREE coupons – that way you won’t forget to use them before they expire! Once you decide your categories you can organize them alphabetically or by the order they are in the store. Here is a list of examples of categories I have seen people list:
- Free Product
- Fresh Foods
- Fruit/Veggies
- Produce
- Pantry
- Grains
- Food misc.
- Condiments
- Spices
- Pasta/Soup/Rice
- Canned
- Boxed
- Baking
- Condiments
- Prepared Sides & Rice
- Condiments/Salad Dressing
- Pasta
- Soup
- PB & J
- Breads
- Snacks
- Chips/Crackers
- Salty Snacks
- Granola Bars/Fruit Snacks
- Breakfast
- Candy
- Drinks
- Juices
- Beverages
- Fridge
- Dairy
- Meat
- Yogurt
- Freezer
- HBA
- Beauty
- Oral Care
- Soap & Body Wash
- Hair Care
- Lotion
- Shaving & Deodorant
- Make-Up
- Razors
- Deodorant
- Personal Care
- Feminine Hygiene
- Tooth care
- Pharmacy
- Medicine
- Vitamins
- First Aid
- Chemicals
- Household
- Batteries
- Surface Cleaners
- Laundry
- Dish Washing
- Cleaning Supplies
- Air Fresheners/Candles
- Fragrances
- Paper/Plastic
- Paper Products
- Pets
- Baby
- Rebates
- Store coupons
- Miscellaneous
Extras
Feel free to add a few extra items to the binder. I strongly recommend you have a place to keep the Store Coupon Policies. You may want a place to keep store ads. Some other items that may be helpful – store card storage, scissors, notepad, pen, and of course a calculator. Also, it is smart to write your name and phone number inside the front cover of your binder. Then if you accidentally leave it behind you can get those precious coupons back!
Maintaining
I recommend you go through your binder twice a month to check for expired coupons and those soon-to-expire ones that you want to use very soon. Often you can do this at the same time as you load new ones. Remember to be flexible with your binder and find what works for you. Don’t hesitate to change categories, move things around, etc. If it is too much of a chore take a step back and find how to simplify it for you. Also, remember this isn’t the only way to organize coupons – if it doesn’t work for you try something new.
I hope this is helpful! Have fun creating your binder!
Does anybody have any other advise? Or questions? How has the Coupon Binder worked for you?
Make a Comment
 (2)_05212015154730.JPG?fit=facearea&h=50&w=50&auto=format) by
Alisonn | Biglerville, PA
by
Alisonn | Biglerville, PAI recenty made a coupon binder. I need to clean out the old and put a pile of new ones in. It is very helpful and makes quick shopping! Thanks for the great ideas!
 by
ddavenue | Tonawanda, NY
by
ddavenue | Tonawanda, NYI love my coupon binder! It definately makes couponing more organized. One thing that I keep in my binder is a 3 hole pencil zip up pencil pouch. I use this to put coupons that I have cut out but not yet put in the binder. My coupon binder also came with an attachable accordian file. I use this to put the ads from stores that I am going to that week. Hope these ideas help!






_01252024061712.jpg?max-w=432&max-h=220&fit=crop&auto=format)

_10242023164832.jpg?max-w=432&max-h=220&fit=crop&auto=format)
_08172023152001.jpg?max-w=432&max-h=220&fit=crop&auto=format)

 (6)_07082023175312.jpg?max-w=432&max-h=220&fit=crop&auto=format)
 (1)_05192023144508.jpg?max-w=432&max-h=220&fit=crop&auto=format)
 (37)_05032023114523.jpg?max-w=432&max-h=220&fit=crop&auto=format)