
Angry Birds Pumpkin Carving Tutorial

I dont know about your kids but mine are huge Angry Bird fans. They are only 5 and 3 and they walk around the house carrying their Angry Birds everywhere they go.
This year when it came time to carve pumpkins my hubby decided to suprise the boys and make them their very own Angry Bird pumpkin.
It took him about 2 1/2 hours to do it, but boy was it worth it!
Step 1: Download Template
There are lots of sites that have fun templates, but we used the one from the Angry Birds official site.

Step 2: Hollow out your pumpkin
Get down and dirty and scrap out all of the pumpkin guts to make it as clean as possible.
*NOTE: Make sure to scrap the front of the pumpkin as thin as you can, about a half inch. This will help the light come through when you are finished.


Step 3: Tape the template to your pumpkin and trace the pattern.
We used a small wheel that came with our pumpkin carving kit. However, you can use anything {such as a thumb tack} to poke small holes in the pumpkin.

Step 4: Outline the pattern.
This is key if you want to be able to see exactly where each line goes. My hubby outlined the pattern {or small holes} with a marker to make them stand out.

Step 5: Get the power tools & safety glasses out!
There are a ton of spots that you will need to shave down but not go completely through the pumpkin. A dremel works perfectly for this!
However, be prepared to be covered in pumpkin parts when you are finished. That's part of the fun!

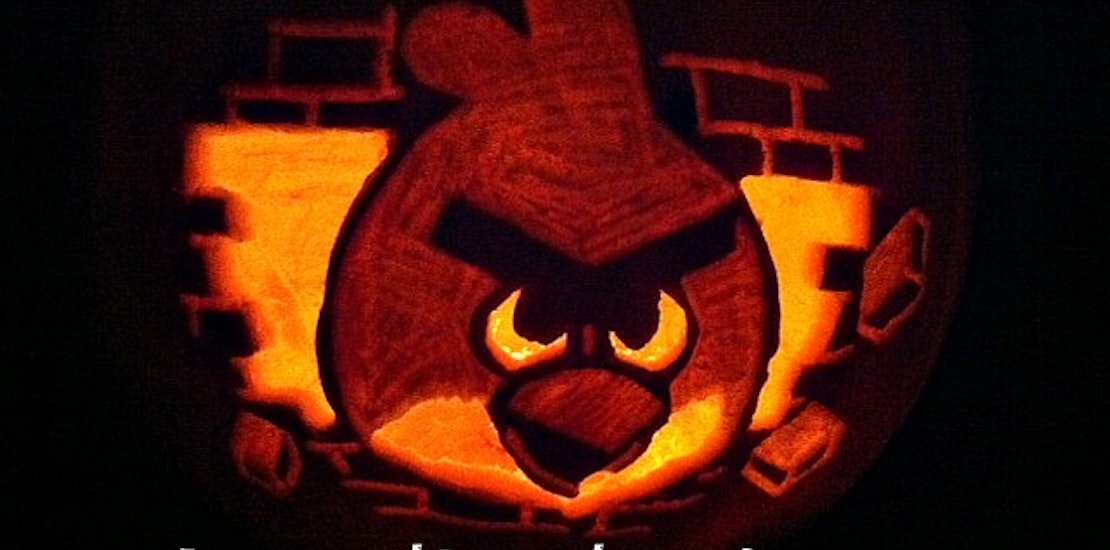
Step 6; Put a light inside your pumpkin and watch it GLOW!
The boys went crazy when it was done and can't stop talking about their pumpkin!

So what do you think? Pretty cool, right?!
Make a Comment


CONNECT WITH US